


Fulfillment by Amazon (FBA) offers sellers a vital platform, and a crucial part of maximizing this advantage is mastering how to edit your Amazon listing, allowing sellers to respond effectively to market changes, customer feedback, and stock levels.
Editing a Fulfillment by Amazon listing is essential for sellers looking forward to staying competitive and responsive to the current market demands. Whether you need to update your product price, enhance your listing details, or manage your inventory effectively, you should know how to edit an FBA listing at Amazon.
This comprehensive guide will look into how to edit FBA listings at Amazon, ensuring they remain optimized for search algorithms and potential customers.
Key Takeaways from this Post
FBA is crucial for sellers, and mastering Amazon listing edits is vital for market responsiveness. Sellers must manage prices, enhance listings, and optimize inventory for success.
The guide covers key steps like logging into Seller Central, managing inventory effectively, changing handling time, adjusting product categories, altering brand names, adding variations, updating prices, and incorporating appealing product images.
Sellers should regularly update information, use keywords, stay informed on Amazon policies, and ensure high-quality images. A FAQ section addresses common queries, emphasizing the importance of compliance and regular updates for success on Amazon.


11 Ways to Edit Your Amazon Listing
Here are the different ways to edit an Amazon listing.
1. How to log into Seller Central
Amazon Seller Central is the portal for individual and professional sellers on Amazon where they can manage their sales accounts. To log in to Seller Central, you need an Amazon seller account.
If you have already signed up for one, logging in is straightforward. Follow these given steps to access your Seller Central account:
1a. To log into your Amazon Seller Central account, go to the Amazon Seller Central login page. It is the hub of your operations for all your FBA listings.
1b. After logging in, you'll be directed to your Seller Central dashboard. You can manage your FBA listings and access other selling tools and reports here. Those who prefer to use the Seller App can log in via the Amazon Seller App.
If you face issues accessing your seller account, Amazon provides resources and support to help you troubleshoot and regain access.
2. How to access the ‘Manage Inventory’ page
The inventory page is where you can manage various tasks related to all your products. To access the Manage Inventory page, follow these steps:
2a. Log in to your Seller Central account.
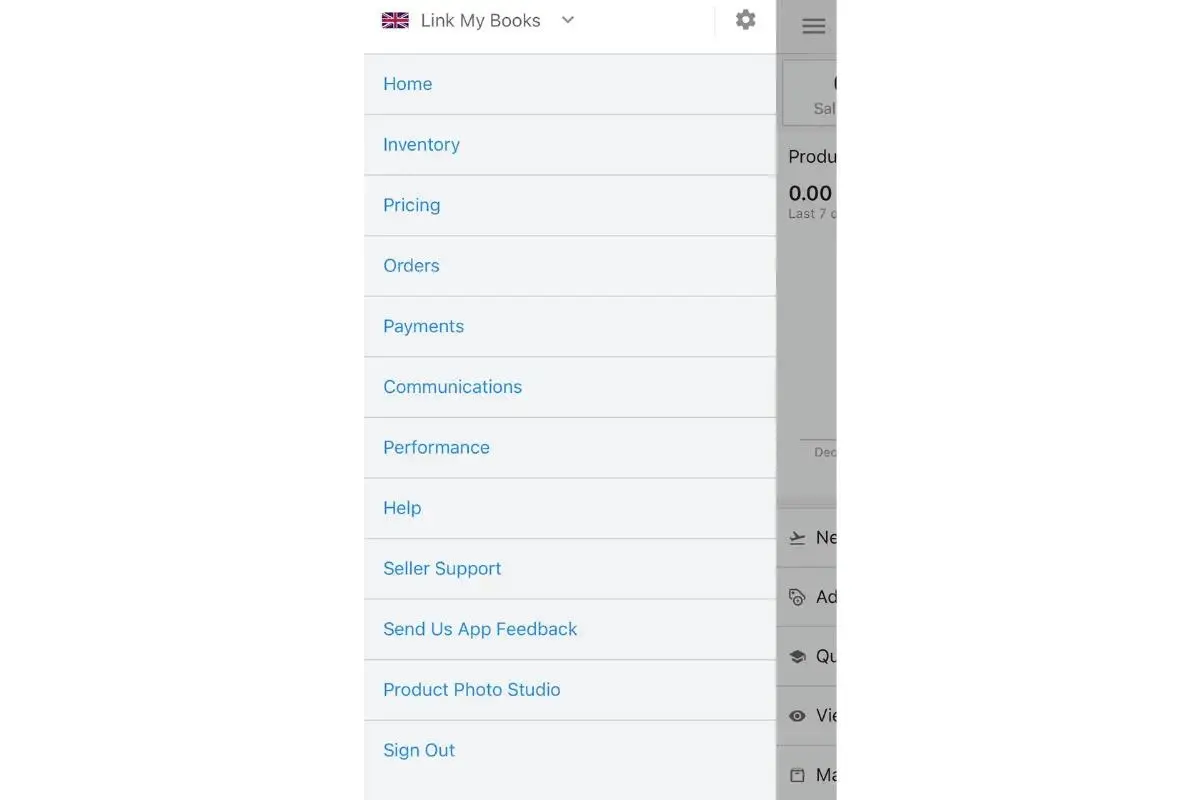
2b. Look for the 'Inventory' Tab on the dashboard., which will open a dropdown menu.
2c. Click on the 'Manage Inventory' button.
2d. Now, you will be able to access everything there is related to the inventory.
This page lets you access a wide range of features, including your existing products, add new products, adjust prices, edit existing listings, manage stock levels, and more.
3. How to change the handling time on Amazon
For users who are looking to change the handling time on Amazon, here are the relevant steps:
3a. Go to the ''Manage Inventory'' page and look for the product for which you want to modify the handling time.
3b. Click on the ''Edit'' button next to the product.
3c. Go to the ''Offer'' tab and find the ''Handling Time' field.
3d. Change the handling time according to your preferences.
3e. Save your changes to update the handling time for the selected product.
Sellers should remember that adjusting handling time can affect your performance metrics and order delivery estimates provided to customers. The important thing is that you should be able to meet the handling time as the time you have set.
It is because you need to manage good customer service while avoiding getting any penalties from Amazon.
4. How to change the product category on Amazon
Steps to change the product category on Amazon are relatively straightforward, yet if you keep changing any particular product's category more often, that might be an issue for your account. Changing the category for a specific product will also affect your product's visibility and search relevance on Amazon listings.
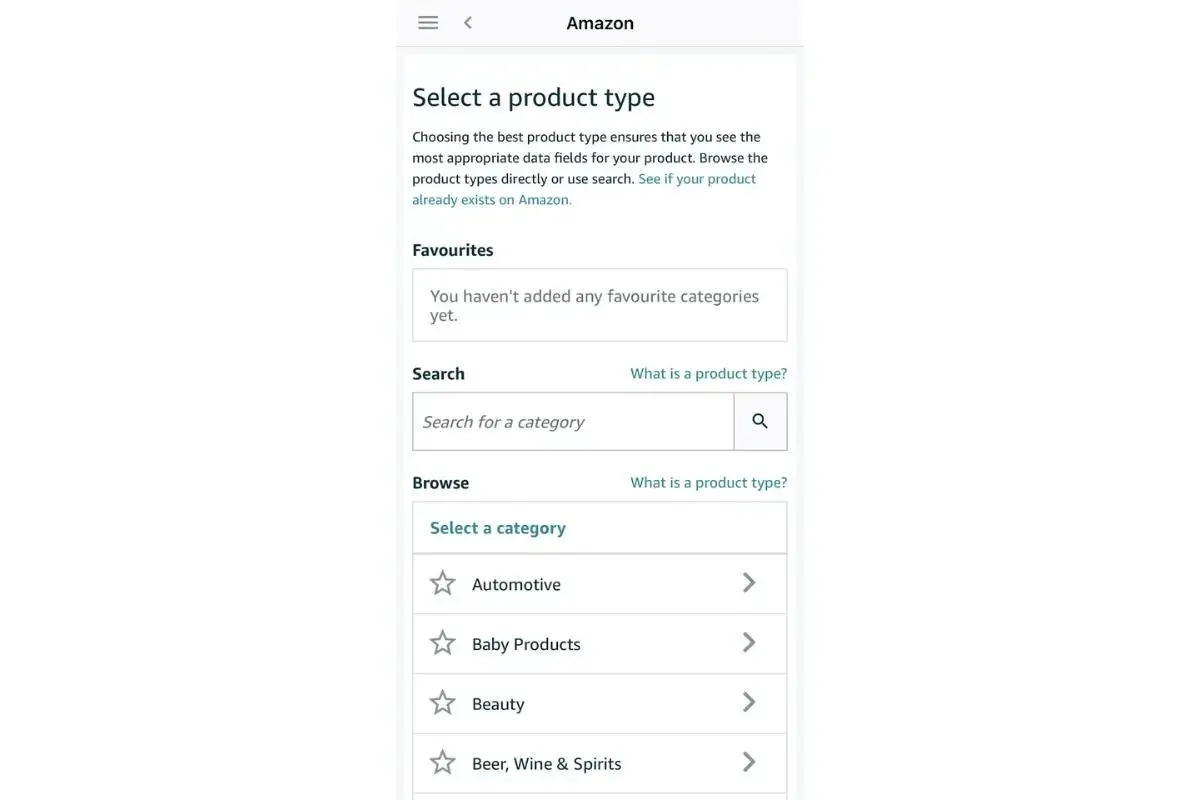
4a. Go to the "Edit Product Info" page and search for the "Product Information" section.
4b. Find the "Product Type" field and select the appropriate category from the dropdown menu.
4c. Save your changes before leaving this section and update the product category.
If you face any issues while changing the category for any product(s), you should get assistance from Seller Support.
5. How to change the brand name on Amazon
You must be the brand owner to change the brand name, which is already registered with Amazon’s Brand Registry.
Here are the relevant steps to change the brand name on Amazon Seller Central:
5a. Go to the ‘Inventory’ tab and look for the ‘Manage Inventory’ option.
5b. Scroll to the specific product that needs the update.
5c. On that product, click on ‘Edit.’
5d. Now, click the ‘Vital Info’/ ‘Offer’ option.
5e. Now, update the ‘Brand’ to your desired Brand Name.
5f. Save the changes once you’ve updated the brand.
5g. It might take some time to reflect on the changes in Amazon.
Sellers should never forget that the updated brand name should comply with Amazon’s policies.
6. How to add a variation to an existing Amazon listing
Here are the detailed steps that you need to follow to add a variation to an existing Amazon listing through your Seller Central:
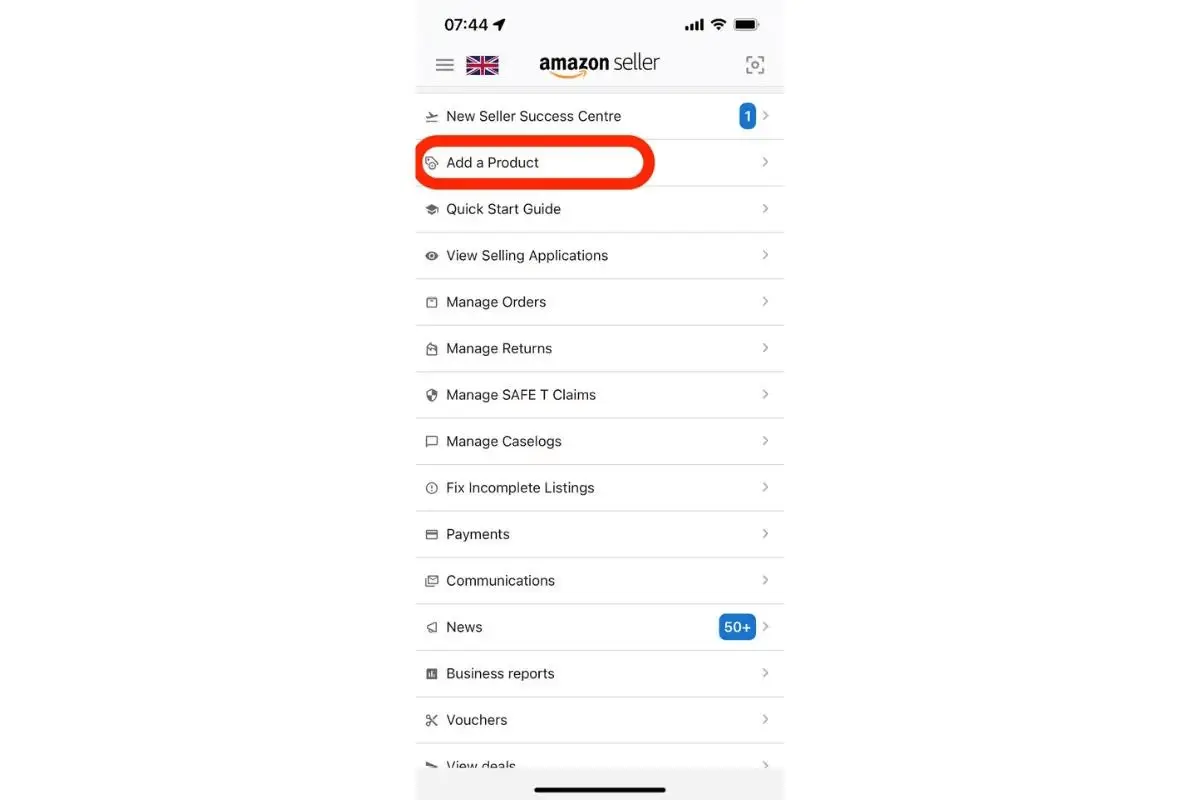
6a. Once you log in to your Seller Central account, go to the 'Inventory’ Menu and search ‘Add a Product.’
6b. Click on it, and then click on ‘Edit.’
6c. You will see the ‘Edit Product Info’ button, click on it and search for ‘Variations.’
6d. Now, click on the ‘Create Variation’ button.
6e. It will show variations such as style, size, color, and more - choose the required ones and click ‘Save and Finish’ before leaving.
6f. You might also need to enter EAN/ UPC Codes while changing variations.
Following the steps mentioned above, you can easily change the variation of any product. Furthermore, sellers should remember that keeping the variations as accurate as possible will help your product get better search visibility.
7. How to update product pricing
Keeping updated prices on your products on Amazon is one of the crucial steps towards getting more potential customers and more orders for specific categories. Here are the detailed steps to update product pricing:
7a. Go to the 'Inventory’ tab and click the ‘Manage Inventory’ menu.
7b. Scroll towards the product that needs price updates.
7c. Move your cursor to that product and click on ‘Edit.’
7d. You will now see all the product details; click ‘Price.’
7e. Enter the desired updated product and hit the ‘Save and Finish’ button.
Staying fresh with the latest trends and market pricing is vital to gaining customers in an already competitive market.
8. How to add product images
Adding eye-catching images for products on Amazon is crucial to gaining more attention for your products. The better images you upload, the better visibility they will gain - and so will the number of potential customers.
The process of adding product images is relatively straightforward:
8a. Go to the ‘Inventory’ menu and click ‘Manage Inventory.’
8b. Go to the product needing images and click the ‘Edit’ button.
8c. You will see various options. Click on the 'Add Images'' tab and upload high-quality images that describe your products.
8d. You will see the ‘Browse’ option to select images from your computer.
8e. After uploading the images, reorder them and click ‘Save and Finish.’
8f. Also, remember to upload relevant images per Amazon's requirements.
Your uploaded images for specific products will be updated instantly on your Amazon listings. Remember, products with clear, high-resolution photos always attract more customers.
9. Amazon Image Requirements
Amazon has specific guidelines and requirements when it comes to product images. It is to offer the best-in-class shopping experience for all its customers.
These include:
- Preferred Image Format: JPG, PNG, TIFF, GIF.
- Image Size: Aspect Ratio 1:1 (Square) or 1:1.5 (Rectangle)
- Background Color: White.
- Focus Point: On the Product.
- Dimensions: Minimum 1000 pixels tall and maximum 1600 pixels wide.
Following these image requirements, you adhere to Amazon’s product policies, and your products will potentially rank better in search results.
10. How to save and finalize your edits
It is necessary to save and finalize your edits after making all the required changes to your Amazon product listing.
Once you complete all the necessary changes and edits, review all the modifications and click the ''Save Changes" button. Hit the refresh button to see updated edits.
11. How to change your ASIN on Amazon
Specific criteria exist to change your ASIN (Amazon Standard Identification Number), as it is a unique product identifier across their store. Changing ASIN can only be done by contacting Amazon seller support.
Once you contact Amazon Seller Support and discuss your reason (which must be valid), they will review/ approve/ update your ASIN.
.webp)
Tips for Editing FBA Listings at Amazon
- Regularly update and review your product information.
- Utilize keywords regularly for better search visibility.
- Adjust and update pricing after regular competitor analysis.
- Stay informed about Amazon's latest policies and guidelines.
- Never list prohibited/illegal items or provide false information about your products.
- Always use high-quality images for your products.
Frequently Asked Questions (FAQs)
A quick FAQ section to answer your questions about changing your Amazon listing.
Can I edit an Amazon listing after publishing?
Yes, you can edit your Amazon listings after they have been published. While most details can be easily edited, some data like ASIN needs approval from Amazon. You must also adhere to Amazon's product guidelines when making changes.
How can I bulk-edit Amazon listings?
You can bulk-edit Amazon listings through "Seller Central" saving time and effort. Pick all the products you want to edit and select the "bulk edit" option in the menu.
Conclusion
Learning how to edit your FBA listing on Amazon is essential for staying competitive in today's competitive markets. Use the tips and techniques in this guide to enhance your Amazon seller knowledge and drive success in your e-commerce business.
But that’s not all. You also need e-commerce accounting systems that are perfected to ensure zero compliance blowback. The best way to do this is to put your accounting on autopilot with Link My Books. As one of the best Amazon bookkeeping tools out there, it will save you time and money every month in your Amazon seller accounting.
You can sign up for a 14-day free Link My Books trial to see the platform in action and understand how it can help you save substantial resources along the way.


.webp)


.png)